Install via Docker
We recommend installing Hummingbot using Docker if you want the simplest, easiest installation method and don't need to modify the Hummingbot codebase.
Prerequisites
Hummingbot runs on commodity hardware and does not require much memory or storage.
- Operating System: MacOS 10.12.6+ / Linux (Ubuntu 20.04+, Debian 10+) / Windows 10+
- Memory: 4 GB RAM per instance
- Storage: 5 GB HDD space per instance
Installation Process
1. Install Docker Compose
Hummingbot uses Docker Compose, a tool for defining and running multi-container Docker applications.
For Windows users
To install Docker on Windows, Windows Subsystem for Linux 2 is needed. Follow this link to install WSL2 on your Windows system. Afterwards, proceed to the instructions above to install Docker Compose.
The recommended way to get Docker Compose is to install Docker Desktop, which includes Docker Compose along with Docker Engine and Docker CLI which are Compose prerequisites.
After installing Docker Desktop, verify that Docker Compose is installed correctly by checking the version:
The output should be: Docker Compose version v2.17.2 or similar.
Warning
Ensure that you are using Docker Compose V2, since Compose V1 is deprecated and the examples assume that you are using Compose V2.
2. Clone Repo
Enter the following commands in Bash/Terminal to clone the Hummingbot Github repo and enter the root folder:
3. Pull Image
The docker-compose.yml file in the root folder provides a basic configuration for launching an instance.
services:
  hummingbot:
    container_name: hummingbot
    build:
      context: .
      dockerfile: Dockerfile
    volumes:
      - ./conf:/home/hummingbot/conf
      - ./conf/connectors:/home/hummingbot/conf/connectors
      - ./conf/strategies:/home/hummingbot/conf/strategies
      - ./conf/controllers:/home/hummingbot/conf/controllers
      - ./conf/scripts:/home/hummingbot/conf/scripts
      - ./logs:/home/hummingbot/logs
      - ./data:/home/hummingbot/data
      - ./certs:/home/hummingbot/certs
      - ./scripts:/home/hummingbot/scripts
      - ./controllers:/home/hummingbot/controllers
    logging:
      driver: "json-file"
      options:
        max-size: "10m"
        max-file: "5"
    tty: true
    stdin_open: true
    network_mode: host
    #  environment:
    #    - CONFIG_PASSWORD=a
    #    - CONFIG_FILE_NAME=simple_pmm_example.py
    #    - SCRIPT_CONFIG=conf_simple_pmm_example.yaml
You will be able to modify this file and uncomment lines in order to automatically enter your pasword and start strategies. For now, we can use it as-is.
Run the following command to pull the image and start the instance:
After the images have been downloaded, you should see the following output:
4. Attach to Instance
The -d flag runs Hummingbot in detached mode. Attach to it by running the command:
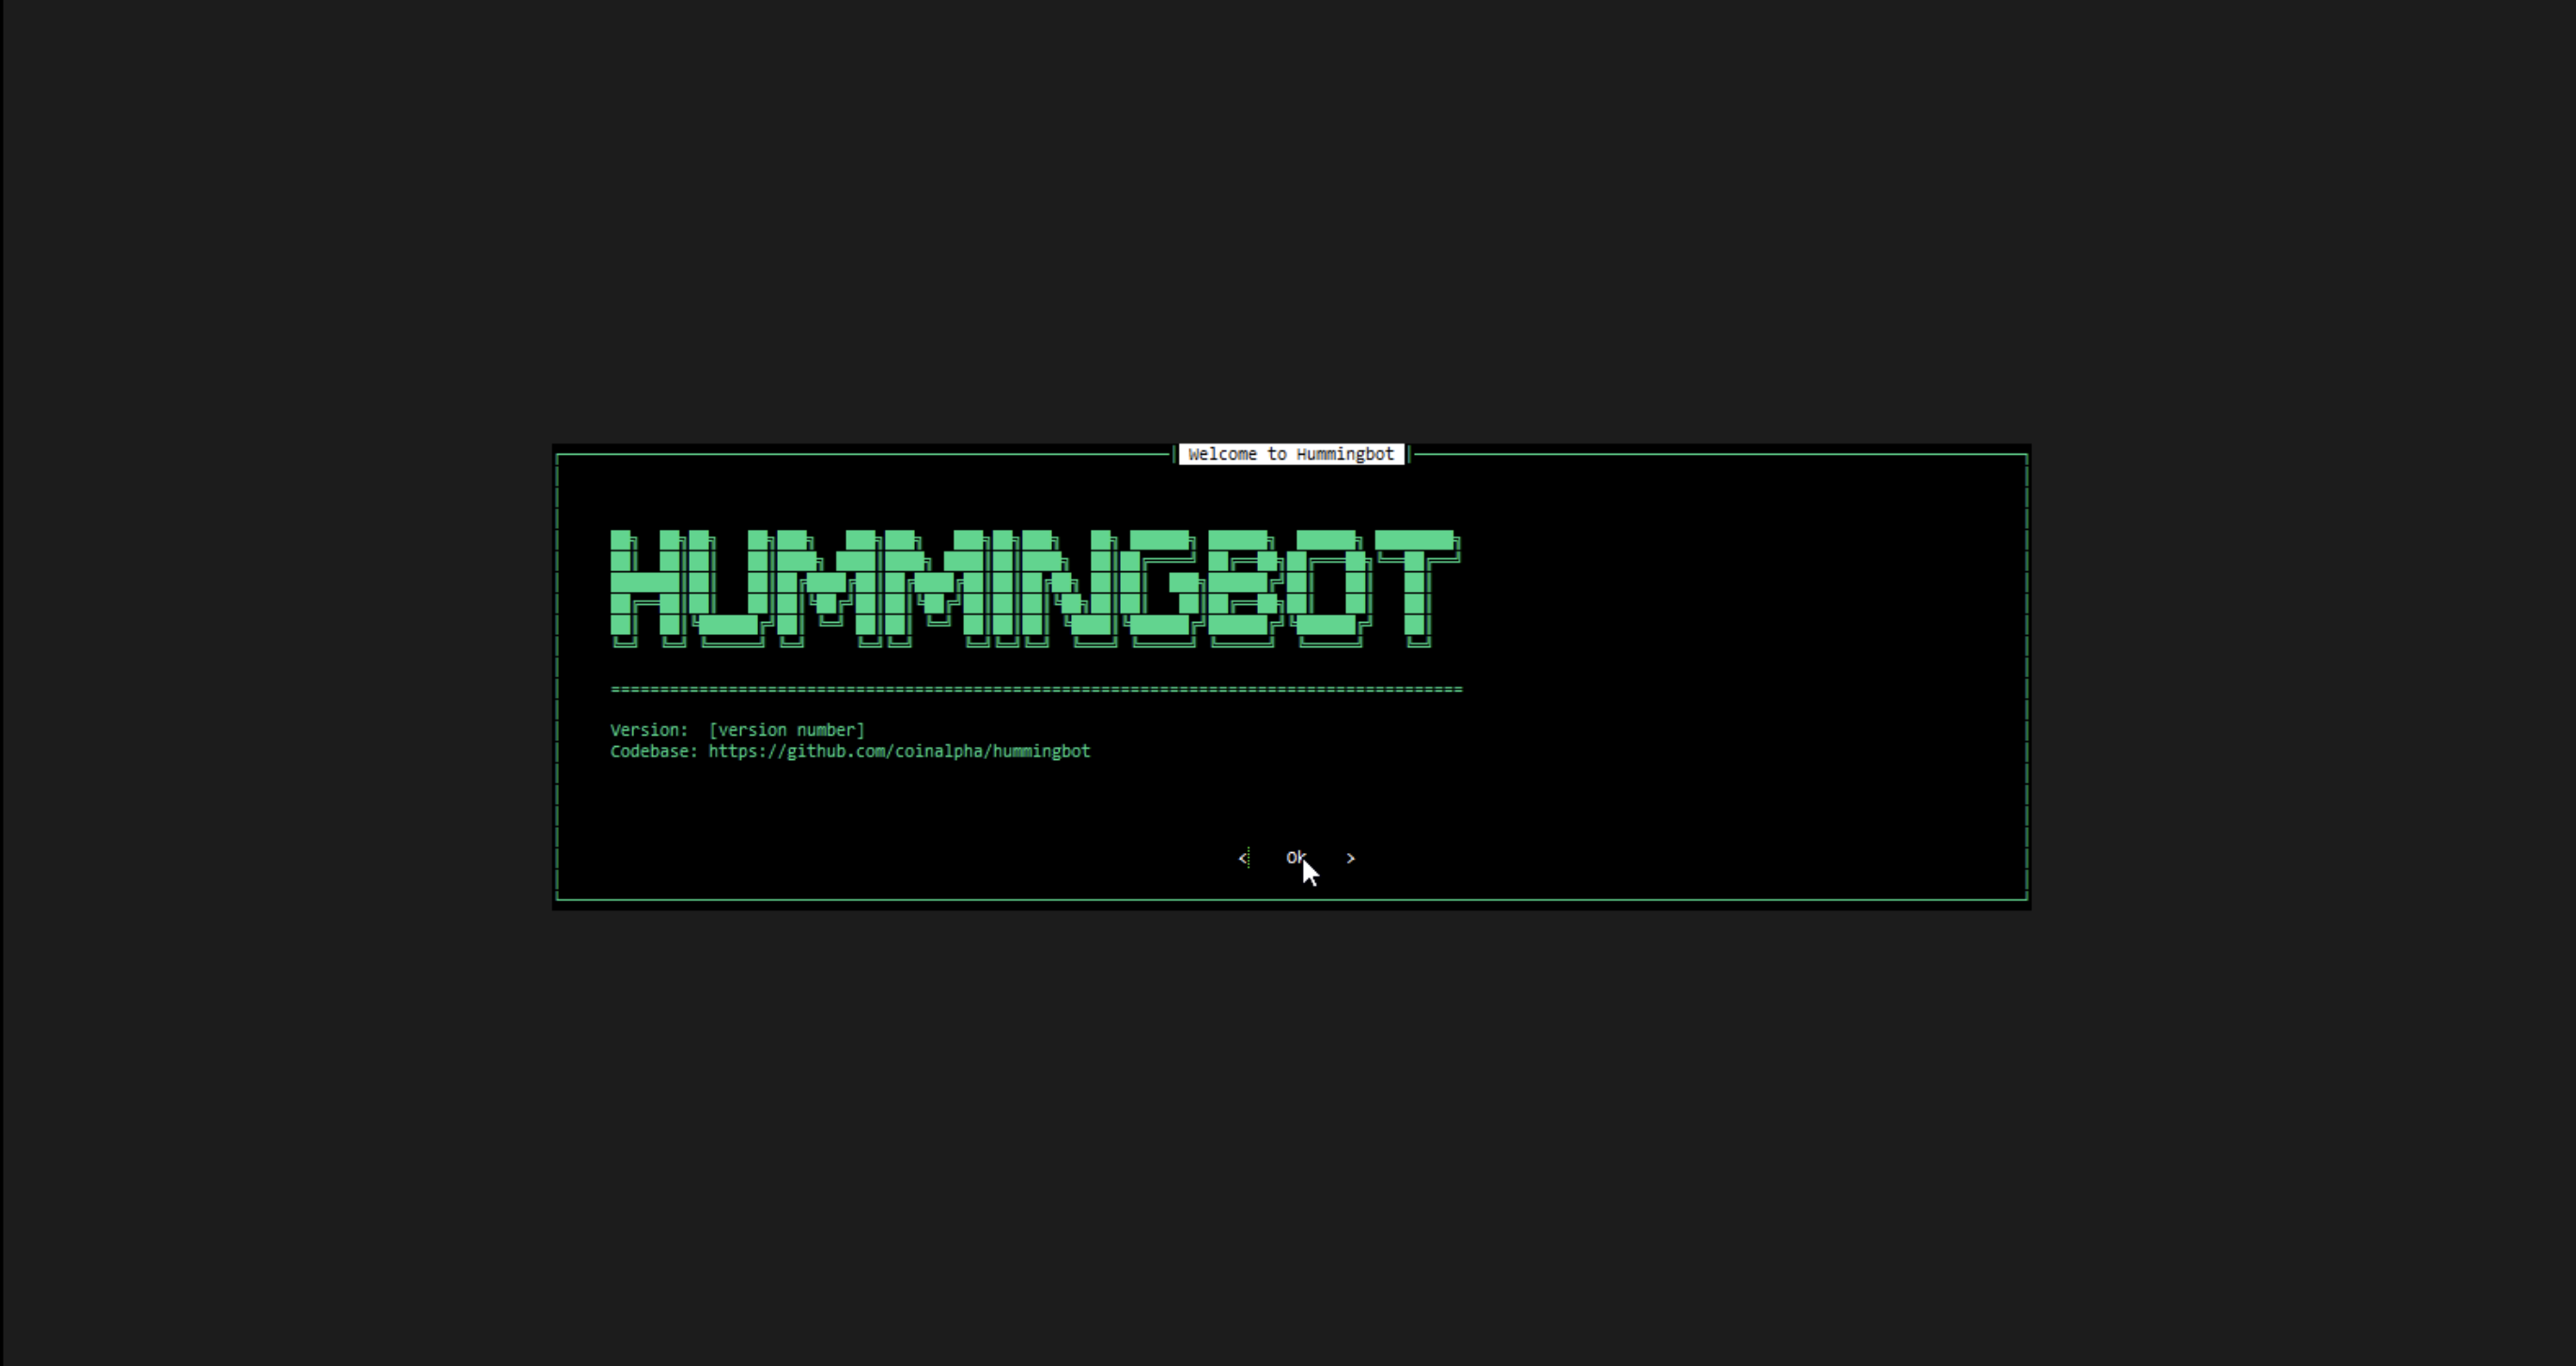
You should now see the Hummingbot welcome screen:
To get started with Hummingbot, check out the following pages and guides:
Advanced Configurations
Autostart Strategy
This configures a Hummingbot instance to automatically start a script or strategy when the Docker instance is instantiated.
Uncomment the following lines in the docker-compose.yml:
  environment:
    - CONFIG_PASSWORD=a       # Replace "a" with your Hummingbot password
    - CONFIG_FILE_NAME=simple_pmm_example.py    # Replace with your script filename
    - SCRIPT_CONFIG=conf_simple_pmm_example.yaml   # Replace with your script config file (or leave commented)
Afterwards, stop the instance with docker compose down and re-launch it with docker compose up -d. When you attach to the instance, your strategy should already be running.
Hummingbot + Gateway
Gateway is API middleware that helps Hummingbot connect to DEXs on various blockchains. To launch Hummingbot with Gateway, uncomment the Gateway section of docker-compose.yml, except for the environment lines:
  gateway:
    container_name: "gateway"
    image: hummingbot/gateway:latest
    ports:
      - "15888:15888"
      - "8080:8080"
    volumes:
      - "./gateway_files/conf:/usr/src/app/conf"
      - "./gateway_files/logs:/usr/src/app/logs"
      - "./hummingbot_files/certs:/home/gateway/certs"
    # environment:
    #  - GATEWAY_PASSPHRASE=a
Afterwards, follow the instructions in Gateway - Installation to generate certificates and connect Gateway to Hummingbot.
Multiple Hummingbot Instances
This configuration launches two Hummingbot Docker instances with the container names hummingbot-1 and hummingbot-2. To use it, replace the content of docker-compose.yml in your Hummingbot root folder with the code below.
If you add more instances, make sure to set container_name to something unique.
services:
  hummingbot-1:
    container_name: hummingbot-1
    image: hummingbot/hummingbot:latest
    volumes:
      - "./hummingbot_files/conf:/home/hummingbot/conf"
      - "./hummingbot_files/conf/connectors:/home/hummingbot/conf/connectors"
      - "./hummingbot_files/conf/strategies:/home/hummingbot/conf/strategies"
      - "./hummingbot_files/logs:/home/hummingbot/logs"
      - "./hummingbot_files/data:/home/hummingbot/data"
      - "./hummingbot_files/scripts:/home/hummingbot/scripts"
      - "./hummingbot_files/certs:/home/hummingbot/certs"
    # environment:
    #   - CONFIG_PASSWORD=a
    logging:
      driver: "json-file"
      options:
          max-size: "10m"
          max-file: "5"
    tty: true
    stdin_open: true
    network_mode: host

  hummingbot-2:
    container_name: hummingbot-2
    image: hummingbot/hummingbot:latest
    volumes:
      - "./hummingbot_files/conf:/home/hummingbot/conf"
      - "./hummingbot_files/conf/connectors:/home/hummingbot/conf/connectors"
      - "./hummingbot_files/conf/strategies:/home/hummingbot/conf/strategies"
      - "./hummingbot_files/logs:/home/hummingbot/logs"
      - "./hummingbot_files/data:/home/hummingbot/data"
      - "./hummingbot_files/scripts:/home/hummingbot/scripts"
      - "./hummingbot_files/certs:/home/hummingbot/certs"
    # environment:
    #   - CONFIG_PASSWORD=a
    logging:
      driver: "json-file"
      options:
        max-size: "10m"
        max-file: "5"
    tty: true
    stdin_open: true
    network_mode: host
Note that the above configuration has both bots sharing the hummingbot_files folder, which is where configs, logs, and databases are stored. If you want to set a different folder for hummingbot-2, set volumes to a different folder path, such as hummingbot_files_2.
Attach to instance 1:
Attach to instance 2:
See Deploy Examples for more information about running multiple instances of Hummingbot with different credentials.
Hummingbot + Gateway + Broker
This configuration starts instances of Hummingbot, Gateway, and EMQX Broker. To use it, replace the content of the docker-compose.yml in your Hummingbot root folder with the code below.
services:
  hummingbot:
    container_name: "hummingbot"
    image: hummingbot/hummingbot:latest
    volumes:
      - "./hummingbot_files/conf:/conf"
      - "./hummingbot_files/conf/connectors:/conf/connectors"
      - "./hummingbot_files/conf/strategies:/conf/strategies"
      - "./hummingbot_files/logs:/logs"
      - "./hummingbot_files/data:/data"
      - "./hummingbot_files/scripts:/scripts"
      - "./hummingbot_files/certs:/certs"
    # environment:
    #   - CONFIG_PASSWORD=a
    logging:
      driver: "json-file"
      options:
          max-size: "10m"
          max-file: "5"
    tty: true
    stdin_open: true
    network_mode: host

  gateway:
    container_name: "gateway"
    image: hummingbot/gateway:latest
    ports:
      - "15888:15888"
      - "8080:8080"
    volumes:
      - "./gateway_files/conf:/usr/src/app/conf"
      - "./gateway_files/logs:/usr/src/app/logs"
      - "./hummingbot_files/certs:/home/gateway/certs"
    # environment:
    #   - GATEWAY_PASSPHRASE=a

  emqx:
    container_name: "emqx"
    image: emqx:5
    restart: unless-stopped
    environment:
      - EMQX_NAME=emqx
      - EMQX_LOADED_PLUGINS="emqx_recon,emqx_retainer,emqx_management,emqx_dashboard"
    volumes:
      - emqx-data:/opt/emqx/data
      - emqx-log:/opt/emqx/log
      - emqx-etc:/opt/emqx/etc
    ports:
      - "1883:1883"  # mqtt:tcp
      - "8883:8883"  # mqtt:tcp:ssl
      - "8083:8083"  # mqtt:ws
      - "8084:8084"  # mqtt:ws:ssl
      - "8081:8081"  # http:management
      - "18083:18083"  # http:dashboard
      - "61613:61613"  # web-stomp gateway
    healthcheck:
      test: ["CMD", "/opt/emqx/bin/emqx_ctl", "status"]
      interval: 5s
      timeout: 25s
      retries: 5

volumes:
  emqx-data: {}
  emqx-log: {}
  emqx-etc: {}
After starting the instance, follow the Gateway instructions to generate certificates and set your Gateway passphrase
To configure the EMQX Broker, attach to the emqx instance:
To configure authentication and available ports, navigate to the EMQX dashboard at http://localhost:18083/. The default credentials are: admin:public.
To connect to your bots via MQTT, leave the mqtt_username and mqtt_password parameters of the bot empty.
Multiple Bots + subaccounts (multiple credentials)
This configuration allows you to create multiple bots and configure the bots to use either a master_account or sub_accounts for credentials and API keys. This feature is particularly useful if you manage multiple API keys or have set up subaccounts on exchanges and wish for an easy method to switch between them.
For more detailed instructions on setting up and running multiple bots with master_account or sub_accounts, please refer to the readme in the deploy-examples repository on GitHub.